 Quick Visual Tour of Features
 Quick Visual Tour of Features
The following is a quick walkthrough of typical operation.
Before you do anything you have to make sure that the application is configured correctly. At minimum you should configure the Database connection and the Web Service Urls for remote connection. Like the Web Application configuration settings are stored in the applications .Config file, but you don't have to manually edit thes settings. Simply start the application. You will get an error message when you start with an invalid database connection string. Skip over that and proceed to bring the form up. It will be empty. Go to the Configuration Dialog and enter a database connection string and the Url to the Web Service(s) to interact with.
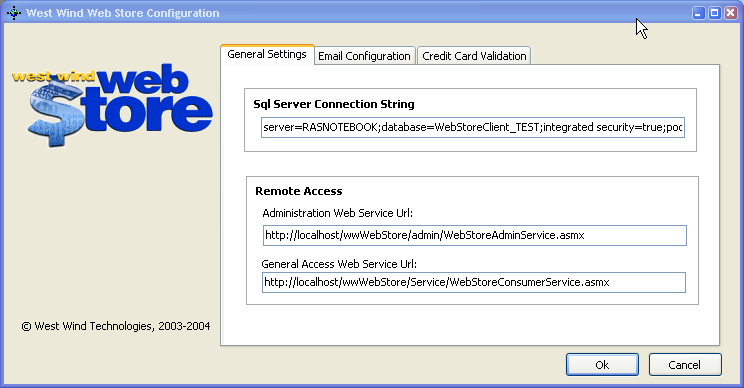
Refer to the configuration settings from the Web application for the remainder of the settings. If you changed the database connection string you need to exit the app and run it again.
(Note: If you run from within VS.Net your App.Config file will overwrite any setting changes made in the .Config file. If you want to persist your changes copy the contents of the WebStoreClient.exe.Config file into the App.Config file of the WebStoreClient project)
Once the application is properly configured it starts by coming up with a full order view. This view provides access to all of the functionality of the store with most functionality directly related to the currently active invoice. When the form first loads it will show the last entered/downloaded invoice:
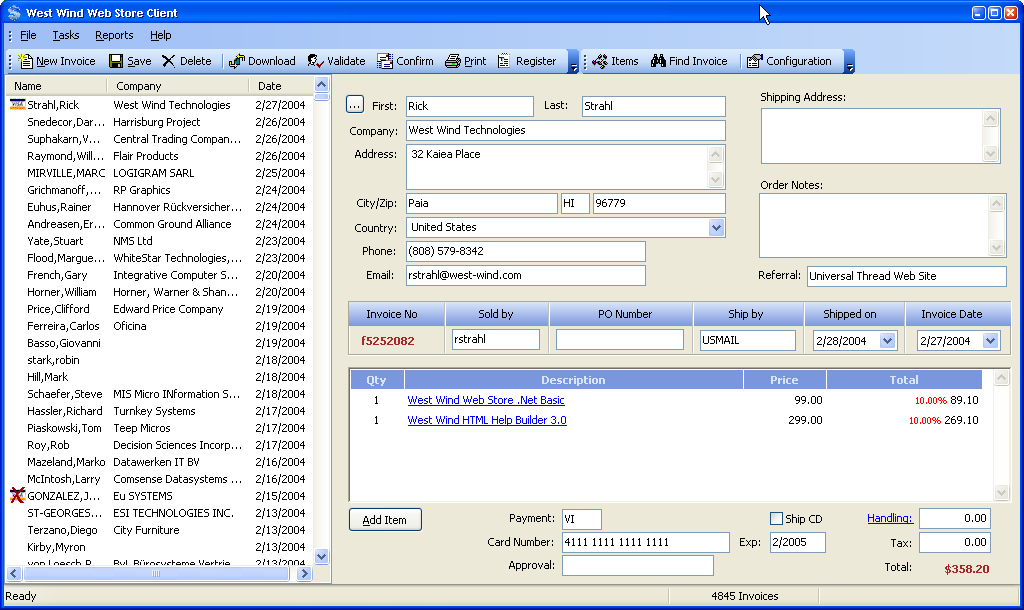
You can use the treeview on the left to quickly review orders chronologically. If you'd rather find invoices by searching you can use the Find Invoice option to get a dialog like the following:
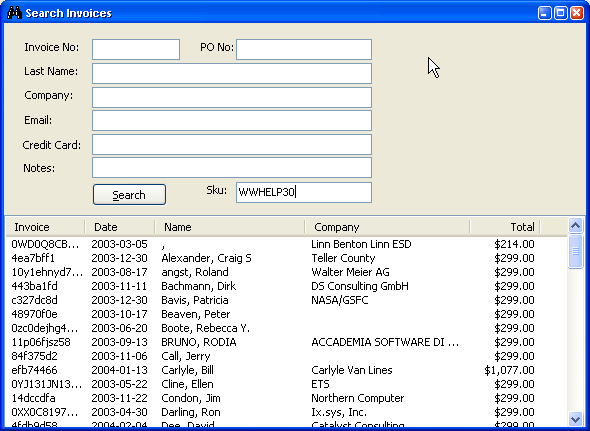
You can double click any of the selected invoices to bring it up in the main invoice display form.
Operation of the application should be fairly straight forward. Options like New, Delete and Save should be fairly obvious. When creating new invoices you can click on the ... button to select a customer:
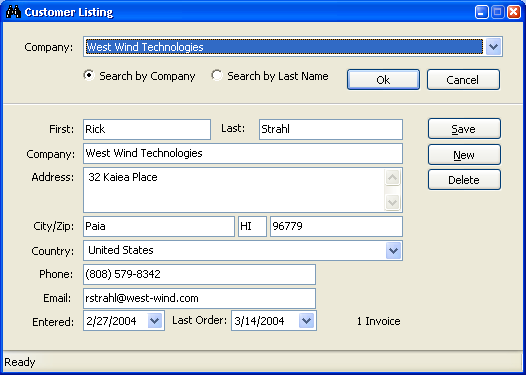
You can select a customer by name or company. Once selected you'll see a preview of that customer. It's quite common to have duplicate customer entries from the Web Site when downloading since often customers decide to not reuse their customer profile. This allows to find the right customer quickly. When you click OK on this form the customer is selected and inserted into the currently active invoice or new invoice.
Downloading Orders
You can download orders by clicking on the Download Link which will pull down any orders that have not previously been downloaded into the client application.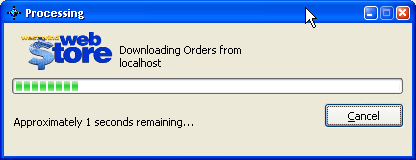
Orders are marked as downloaded once they are pulled from the server. If you need to you can go onto the Web site and toggle them back to non-downloaded in the Invoice Administration Listing form.
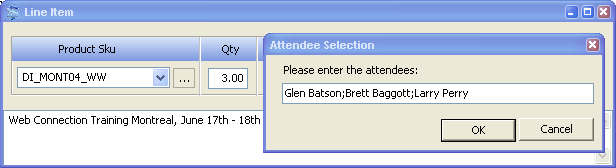
Lineitems are displayed inside of a Web Browser control. You can click on the link for the item to drill into the item and edit the information there.
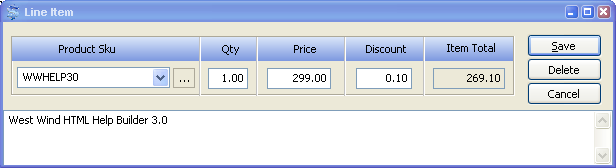
If you have this item configured with a Custom Type you can double click on the description field to pop up further options
Inventory Item Display
From here you can also bring up the Inventory form to display and edit detailed information about each item.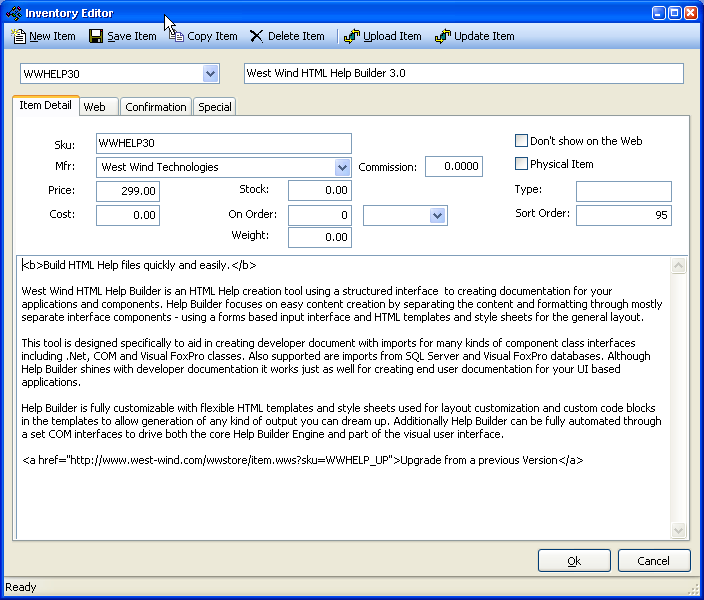
On this form you can view and inventory item options very much like on the Inventory Item form on the Web.
Note that you can take the current inventory item and upload it to the Web site. Make all your edits locally and then simply cause the changes to be moved to the Web Site by clicking on the Upload button. Alternately you can allow an item to be updated from the Web site.
Invoice Operations
Back to the invoice. Once you've pulled down invoices you can go ahead and process the invoice if you have set up credit card processing and the invoice (or invoices) have not been processed online. You can process either the current invoice or all unprocessed invoices.When the CC processing returns the Approval field will hold a result code. The icon in the tree for the invoice also will reflect the status. If the order was processed Ok, you can click on Confirm which will send an email to the recipient. If the Item has its RegText field filled in this text will be emailed to the customer automatically. If you require something more complex - you can click on the Email Invoice Recipient from the Tasks menu. This option pops up your default email client with a stock invoice header subject into which you can type any custom text. Along the same lines you can use the Declined Order Email in the Tasks menu to pre-create some stock text that shows the CC processing error message in your default email client. You can customize the message as needed.
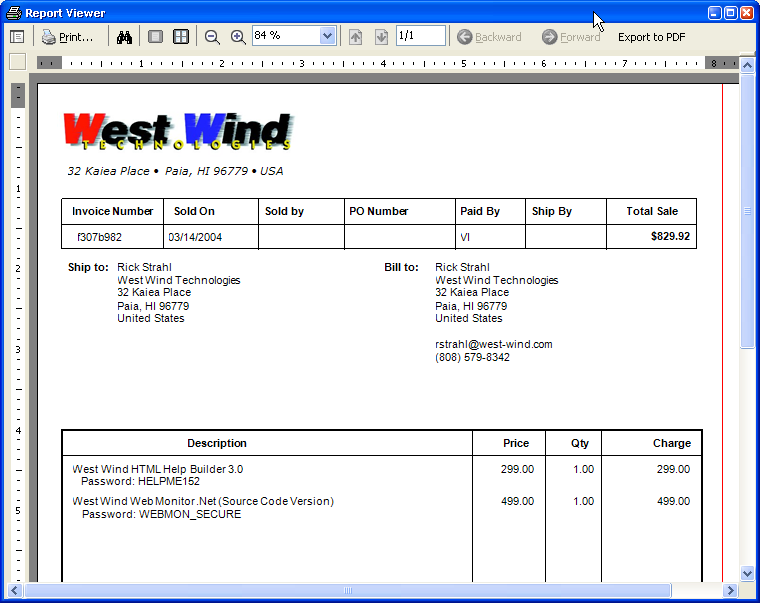
If you need to physically ship something you will probably want to print the invoice and you can do this by clicking on the Print button. The File menu has several additinoal options for Preview, Print and PDF output.

Comment or report problem with topic