 Step 5 - Check out the Web Store
 Step 5 - Check out the Web Store
Once you've conifgured the store and added one or more items you can start checking out the Web Store. To fire up the store simply go to:
http://localhost/webstore/
At this point the store is very generic and will require a handful of HTML customizations, but the mechanics of navigating items and shopping are now functional:
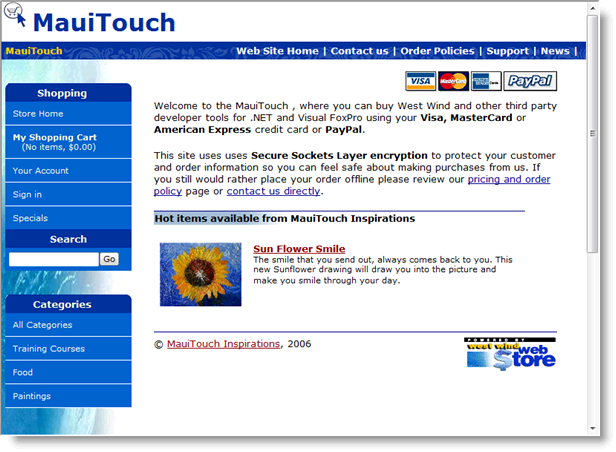
As you can see the basic home page includes a generic logo at the top with your Web store name and the text of the page in various places reflects your company name. On the left you see the basic navigation menu which should include the categories you have configured in Step 3.
The home page is essentially a static page which means you can edit it to fit your needs. We decided on purpose to leave this page static rather than automatically generating items lists because a) home pages are the most busy of a store and thus static content runs more efficiently and b) most users will design this page with their own custom style. We'll come back to customizing the store a little late, but for now lets quickly see how we can browse items.
Since we previously added only a single item and put it in the Paintings category to get to it we can click either on the All Categories or Painting categories to see and select the item. When you do you'll see a view like this:
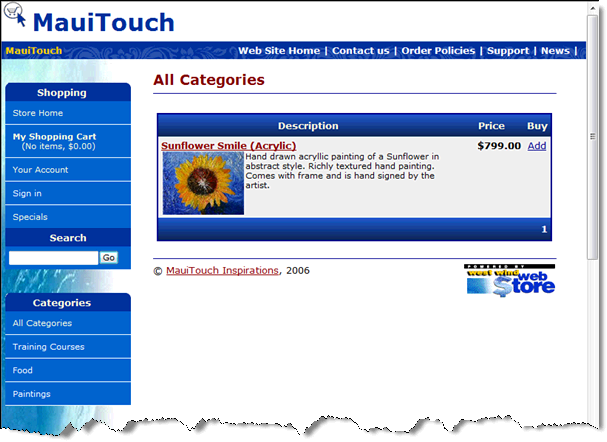
From there you can then click on the item to display it:
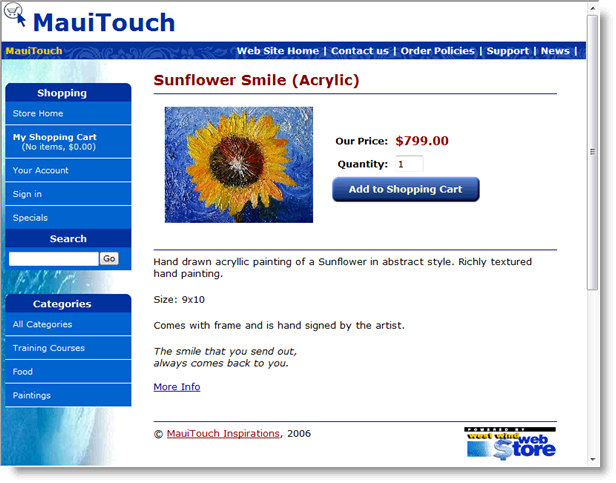
To buy the item click on the Add to Shopping Cart button, which takes you to the shopping cart page:
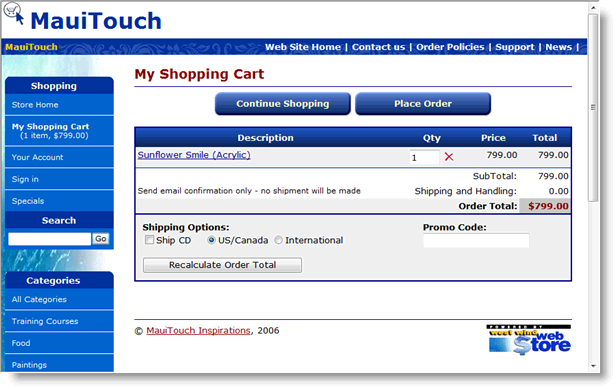
Again notice that this store isn't 100% customized at this point and the Ship Disk link is not really appropriate. We'll come back to this later in the customization section. Next you can place the order by clicking on the Place Order button. You can fill your customer information into this form as shown here:
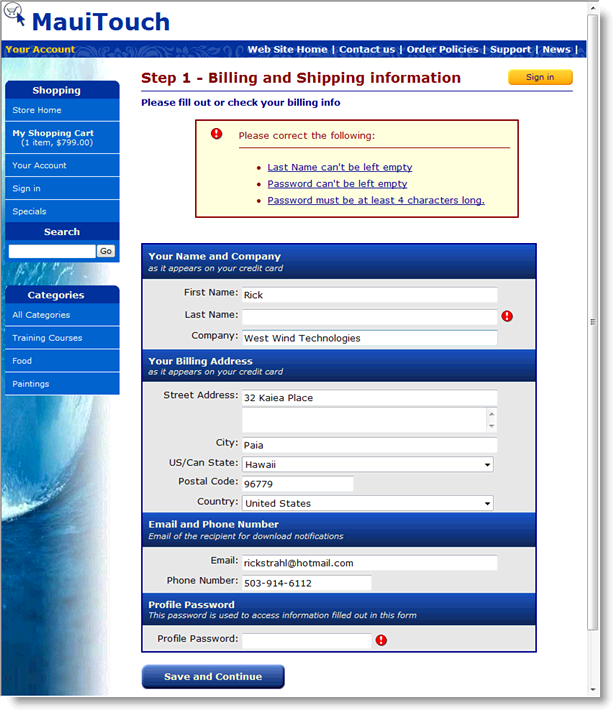
Note that there's an error on the form - I forgot to type in a password - which results in an error message at the top of the form and also a marking of the field in question. To correct I fill in a password which is mapped to the profile record kept for this customer. The password is linked to the the email address to allow the user to log on to his profile for repeat orders. The user is also assigned a permanent cookie that will automatically reattach to this profile. Note that the profile contains no sensitive information (ie. credit cards etc.).
The next form redisplays the order information and prompts for payment info:
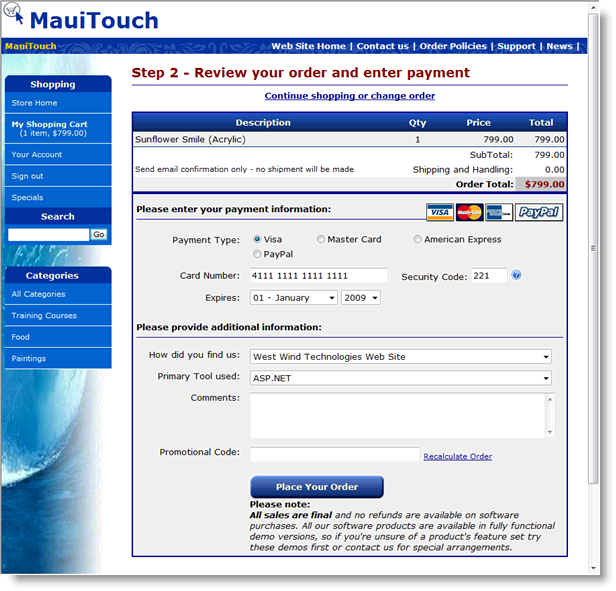
Here you can enter credit card information and any additional info that you might need to write about the order in the Comments field.
Assuming that the info entered in was valid the order is now saved to the database. Up to this point the order was only stored in temporary tables and only now is the actual order written to disk and the inventory updated.
Note that the default store installation doesn't process credit cards at this point. Rather you can use the admin module to process the credit card at a later point in time. However, it's easy to add this functionality to the store with a switch. Once the order has been placed the user sees a confirmation page:

The content of this form is also emailed to the user in HTML format.
Voila, you've processed your first order.
Finally you can check out the order or orders placed in the store from the admin page. Go to:
http://localhost/webstore/admin/default.aspx
then click on the Show Invoices Link. You should see a form like this:
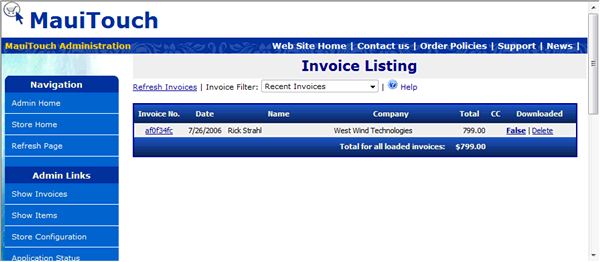
from which you can get to your specific invoice:
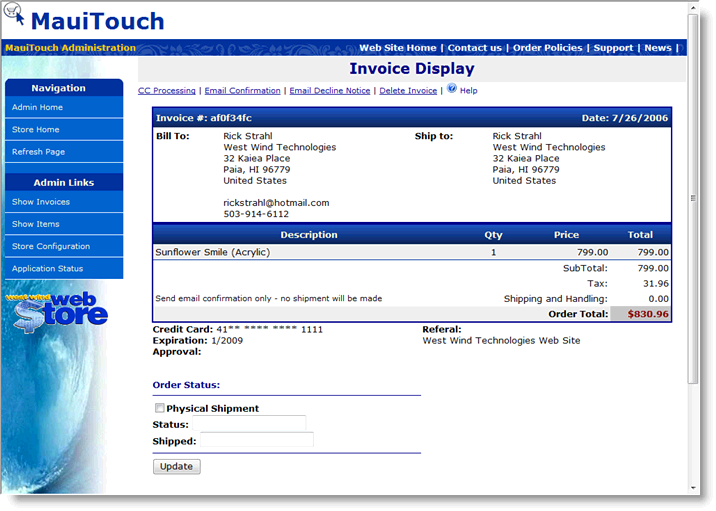
From this page you can manage the invoice easily including credit card processing if you have configured it for the application (see Credit Card Processing topic for more info on what's required for CC Processing to be integrated).

Comment or report problem with topic