 Step 3 - Setting up Inventory Categories
 Step 3 - Setting up Inventory Categories
In Step 3 we can now start with the fun stuff - configuring the application for your own products. The first thing to do is think of categories for your items. If you have only a few items and don't need categories, you can skip this step, although I think it's still a good idea to try and group even a few items if you have them.
The category list displays on the left of the application and shows all of the categories you add here. Each of the categories can also be added to each item to display in.
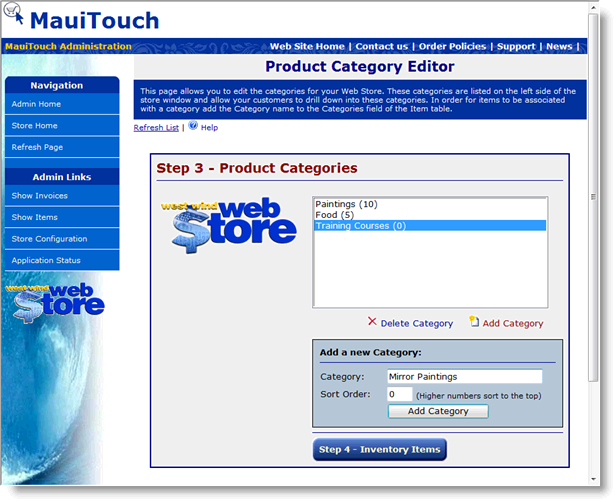
Here you can easily add any categories. To add a category simply enter the name and optionally a sort order (higher numbers show at the top of the list) and click the Add Category button. And voila the category is created. To delete a category select it in the list and click on the Delete button.
Note:
If you are getting Data errors at this point you may have to check your Connection String from the previous step. Make sure the connection string and login information is correct.
And onwards to Step 4 - Adding Inventory Items.

Comment or report problem with topic