 Capturing Images
 Help Builder allows you to directly capture images from the screen. It supports two modes - if you have TechSmith's SnagIt installed it uses SnagIt to capture images directly. Otherwise it will use a simpler Ctrl/Alt-PrtScrn to capture windows and the entire screen. The option is configurable via the Options | Help Builder Settings page.
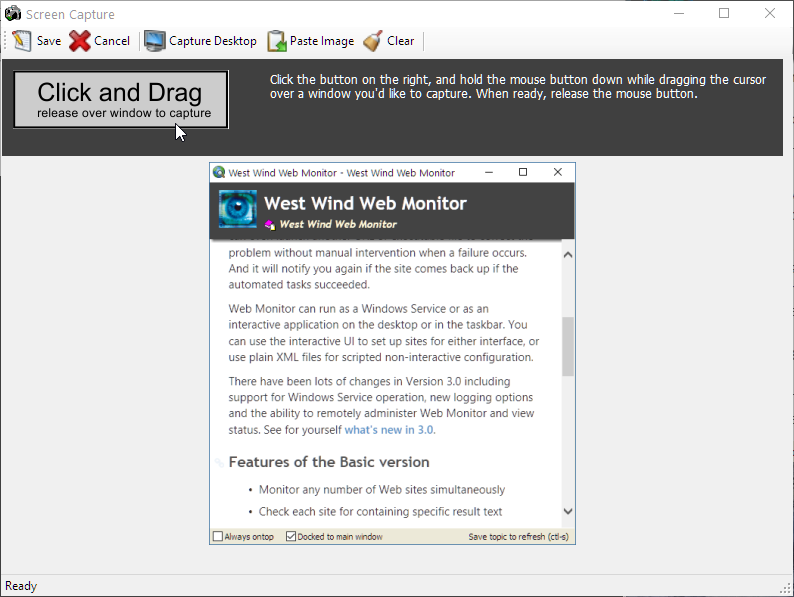
When you first access the Screen Capture utility and no image is residing on the clipboard you'll see a window like this:
The utility relies on the standard Windows capability of being able to capture the active window with Ctrl-PrtScn or the entire screen with Alt-PrtScn. The screen capture utility can pick up these captured images and allows you to save them locally.
The Screen Capture utility is accessible in two ways:
From the Topic Editing Toolbar
The captured image can be saved and when it is and an edit control is active and still at the same position as previously the image is directly inserted as an image link. If you have moved the cursor or there's no active edit control, the image is saved only.From the Tools Menu
The image is loaded and can simply be saved. No link insertion is performed.
The base capture window that informs you of the PrtScn key functions which copy captured images onto the clipboard. The idea is to capture the image of your choice with Alt-PrtScrn, then return to this window and click on the Paste Image button to load the image. Once you do this you will see the image displayed in the viewer along with some basic information about the captured image file.

Note that you can paste an image from the clipboard regardless of where it came from - if you chose you can use another image capture program or image editor such as Paint Shop Pro which has an excellent Screen Capture Utility. We just provide the basics here for quick and dirty image capture.
Once the image is in the editor you can resize it, and the proceed to save it. We recommend you save images in PNG format as this is the most compressed format that also provides the best image quality for screen shots. You can experiment with image sizes by saving to different formats by viewing the filename info in the dialog after you've saved the image.
If you invoked the Screen Capture button using the Toolbar button while in Edit Mode, Help Builder will immediately insert the link into the current text editing area at the cursor selection and you should find a reference like this:

so, capturing and insertion happens all in one smooth operation. If you only want to capture an image and not insert a link immediately use Tool | Capture Window/Screen from the menu instead.

Comment or report problem with topic